LoRaWAN Gateway Installation
The LoRaWAN gateway is the backbone of your Fence Shield network. It receives transmissions from all your Fence Shield devices and forwards them to the Safora platform over Ethernet (wired) or LTE (SIM card).
We recommend installing the gateway and confirming it is online before heading out to install the Fence Shield devices.
The gateway arrives pre-configured by Safora and requires no additional network setup. By default, it uses Ethernet when available and automatically falls back to LTE if no Ethernet connection is detected.
Before installing: site planning
Place the gateway as high as possible and as central to your fence perimeter as practically achievable. This maximizes range and reliability with your Fence Shield devices. Achievable range can range from 5–15 km, depending on conditions and terrain.
Keep in mind:
- Power access: the gateway needs a reliable power source nearby (see Power on the gateway).
- LTE signal: if using LTE, choose a location with a reliable mobile signal.
- Clear radio path: minimize large obstructions (buildings, hills) between the gateway and the fence line, and keep that path as open as possible. Trees, tall vegetation, and structures nearby can weaken the signal even when both ends look unobstructed.
- Antenna clearance: for maximum range, mount the LoRa antenna with open space around it. Avoid placing it tight against walls, metal structures, or dense foliage.
The gateway ships in two packages (gateway unit and long-range antenna). A PoE adapter is also included.
1. Insert the SIM card (optional)
Skip this step if you are using Ethernet only and your gateway did not ship with a SIM card.
If you are using LTE, insert the SIM card into slot 2 (the middle slot) with the chip facing up. Secure it with the black holder that slides in front of the SIM card slots.
2. Connect the antenna
Never power on the gateway without a LoRa antenna connected. This will irreversibly damage the device.
- Connect the LoRa antenna to the SMA connector located to the upper-left of the GPS connector.
- Optional: connect a GPS antenna to the connector labeled GPS above it. GPS provides extra functionality in mobile gateway setups.
The supplied 868 MHz omni antenna has a 1-meter SMA cable connecting it to the gateway.
3. Mount the gateway
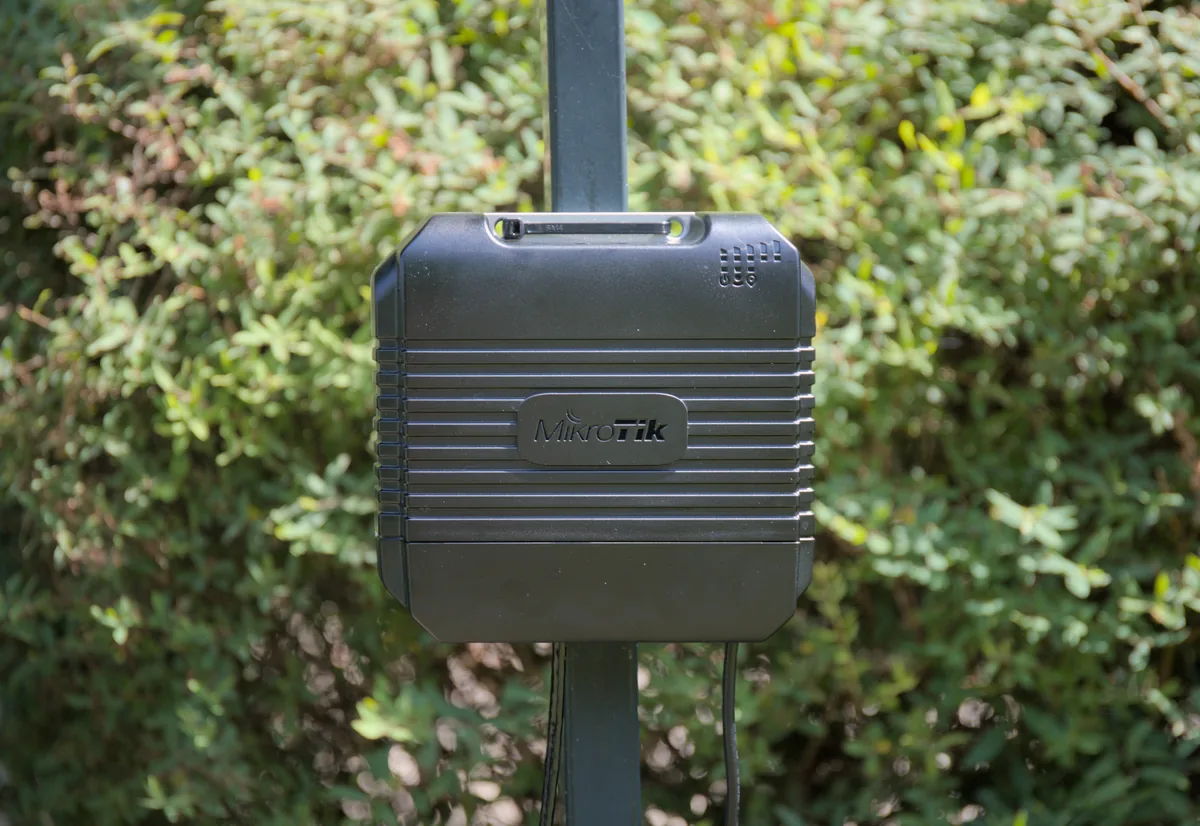
Secure the gateway to your chosen location using the provided zip ties or your own mounting hardware. The unit has 4 mounting holes that accommodate a variety of fixing methods.
Mount it as high as practically possible, with all cables entering from the bottom and the UP arrow pointing upward.
Route all cables downward from the gateway. Cables must drop straight down from the enclosure so water cannot run along them into the connectors.
Mount the antenna vertically, with the connector at the bottom. Pole and wall mounting options are included in the box.
4. Power on the gateway
Connect your chosen power source:
| Method | Notes |
|---|---|
| PoE (recommended) | Use the supplied PoE injector and power adapter, or a switch that provides passive PoE (12–30 V) |
| 24 V power adapter | Via the barrel jack |
| Auxiliary DC input | For remote battery or solar setups |
PoE details
- Connect power and (if used) internet to the PoE injector or PoE switch.
- Run an Ethernet cable from the injector/switch to the gateway. This cable carries power to the gateway, and internet if that was connected in step 1.
- For outdoor runs to the gateway, use outdoor-rated, UV-resistant Ethernet cable. The injector/switch should stay indoors or sheltered.
Internet over the Ethernet cable is optional when the gateway uses LTE for backhaul. Without LTE, the Ethernet cable must provide a working network connection as well as power.
Once powered on, the blue LED on the front of the gateway lights up. If using LTE, the connection is established automatically with no further configuration needed.
- LTE signal strength: check the top row of 5 green LEDs (more LEDs lit means stronger signal).
- Ethernet priority: if an Ethernet cable with working internet is connected, the gateway uses it instead of LTE.
Once you've confirmed the gateway is online, you're ready to install your Fence Shield devices.
5. Close the housing
Replace the cover over the connectors at the bottom of the gateway. The cover has punch-out holes for all wires and connectors. Route each cable downward through these openings before securing the cover. Secure it with the two Phillips screws on either side.
Advanced: Gateway administration
This section is optional and only needed for advanced configuration. If you need to change any advanced settings, reach out to the Safora team. We're happy to help and can remotely configure gateways if required.
The gateway creates its own WiFi network for configuration, which is not normally necessary since Safora pre-configures the gateway beforehand.
To connect to the gateway admin page:
- Connect to the gateway's WiFi network:
| Field | Value |
|---|---|
| SSID | Safora-{name-number} |
| Password | WiFi key on the sticker on the back of the gateway |
- Open a web browser and go to
192.168.88.1. - Log in:
| Field | Value |
|---|---|
| User | admin |
| Password | Password on the sticker on the back of the gateway |